Using the Contacts App
The Contacts app is not enabled by default in ownCloud 8 and needs to be enabled seperately. It is also not a supported core app. You may ask your ownCloud server admin to enable it, and if you are your own admin consult the Installation > Installing and Managing Apps section of the ownCloud Server Administration Manual.
The ownCloud Contacts app is similar to other mobile contact applications, but with more functionality. When you first access the Contacts app, a default address book becomes available.
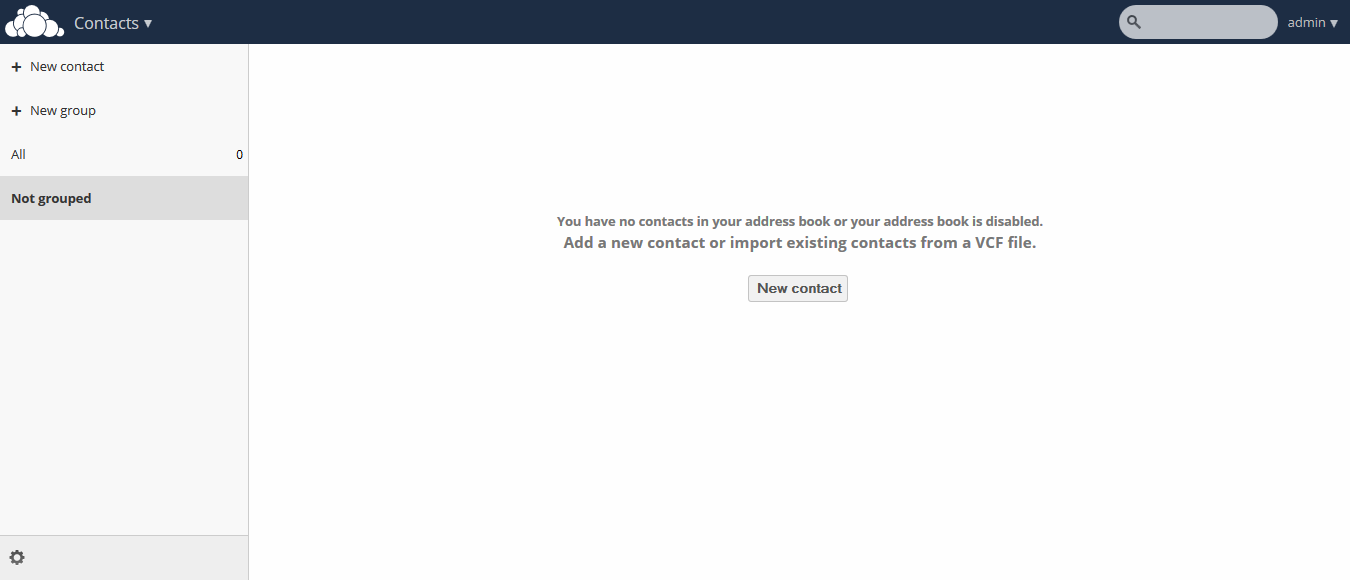
Contacts app (empty)
In the Apps Information field for the Contacts app, you can choose to create a new contact or a new group. This field also enables you to filter your contacts based on grouped or ungrouped contacts.
Adding Contacts
You can add contacts using one of the following methods:
- Import contacts using a Variant Call Format (VCF) file
- Add contacts manually
Importing Contacts
The fastest way to add contacts is through the use of a Variant Call Format (VCF) file.
To import contacts using a VCF file:
- At the bottom of the Contacts app information field, locate the gear button.

Contact settings gear button
- Click the gear button. The Contacts app upload field opens.
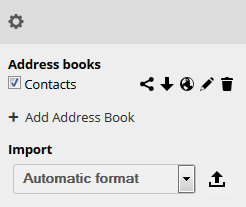
Contacts app upload field
3. Choose an address book to which you want to import contacts by clicking the checkbox next to the address book.
4. Select one of the options from the Import pulldown menu. These options include the following:
- Automatic format – Any VCF file. ownCloud determines the file format and imports accordingly.
- Gmail CSV – The comma-separated values file from your Gmail account.
- Outlook CSV – The comma-separated values file from your Outlook account.
- Thunderbird CSV – The comma-separated values file from your Thunderbird account.
- Yahoo CSV – The comma-separated values file from your Yahoo account.
- PHPLdapAdmin Idif Export – The export record from your LDAP configuration.
- Gmail VCard – The VCard files from your Gmail account.
- Standard VCard – The VCard files from your Standard account.
- Yahoo VCard – The VCard files from your Yahoo account.
- Click the upload arrow to the right of the import option that you select.
An Upload File window opens.
- Navigate to the appropriate file on your system and select it for upload.
Note
You can upload files individually or, by selecting multiple files using the CTRL button and selecting them, you can upload multiple files at one time.
- Once you have selected the appropriate files, click the Open` button.
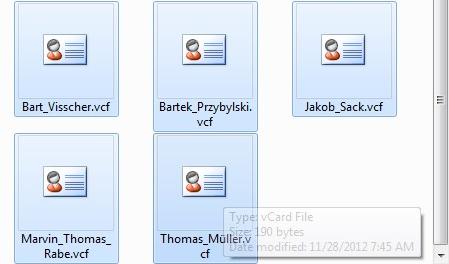
Selecting VCF files
The interface automatically places your contacts into ownCloud.
Creating Contacts Manually
The Contacts app enables you to create contacts manually.
To create a new contact:
Click the +New contact option in the Contacts information field.
An empty new contact configuration opens in the Application View field.
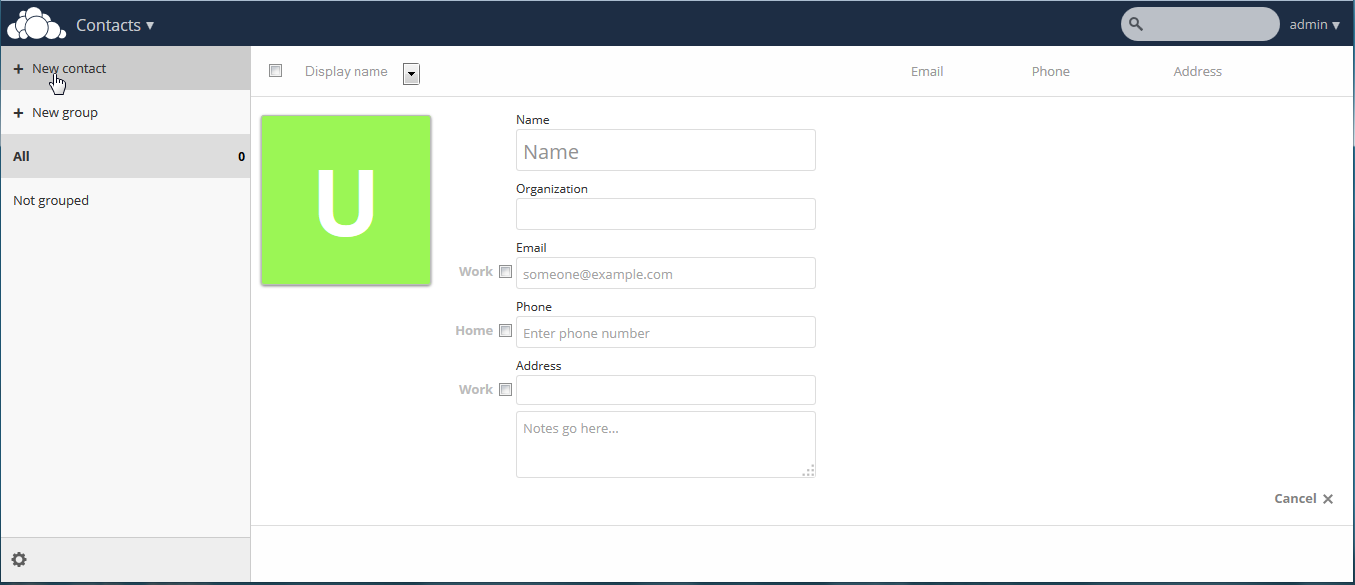
- Specify the new contact information as follows:
- Name – The name of the contact. This field provides the option of specifying added information for the user by clicking the pen button to the right of the Name field.
- Organization – The organization for the contact.
- Email – The email address for the contact. This field defaults to the work email address for the contact. However, you can specify a different email designation by clicking the Work designation to the left of the email field.
- Phone – The phone number for the contact. This field defaults to the home phone number for the contact. However, you can specify a different phone designation by clicking the Home designation to the left of the phone field.
- Address – The address for the contact. This field defaults to the work address for the contact. However, you can specify a different address designation by clicking the Work designation to the left of the address field.
- Notes – Any notes you want to add about the contact.
Note
The Email, Phone, and Address fields provide the option of specifying a contact method as “preferred.”
Editing Contact Information
The Contacts app enables you to edit or remove contact information.
To edit contact information:
- Navigate to the specific contact that you want to modify.
- Select the information in the field that you want to edit.
- Make your modifications.
Changes that you make to any contact information are implemented immediately.
Removing Contact Information
The Contacts app enables you to remove contact information.
To remove contact information:
- Navigate to the specific contact that you want to modify.
- Locate the contact information field that you want to remove.
- Click the trash bin to the right of the contact information.
Changes that you make to any contact information are implemented immediately.
Defining a Contact Avatar
By default, new contacts receive a letter avatar (picture) of “U” (for “User”).

Contact picture (default)
When you specify the name of a contact, the avatar reflects the name by adopting the first letter of the name you provide. For example, if you were to specify the name of “Frederick,” the avatar would dynamically change to “F” for that contact. If you provide multiple contacts with the same name, or with names that start with the same first letter, the avatar uses the same letter but changes color to indicate the difference.
Contact picture (dynamic change)
Customizing an Avatar
In addition to dynamically altering the avatar for each contact, the Contacts app enables you to customize the avatar. You can specify an avatar in one of the two following ways:
- Upload new image – By selecting this option, ownCloud opens a File Upload window. You can choose a new image by navigating to the image, selecting it, and clicking Open.
- Select image from Files – By selecting this option, ownCloud opens the Files dialog on the ownCloud server. You can choose an image by navigating to the image in the ownCloud directory, selecting it, and clicking Choose.
Cropping an Avatar Image
After you have selected an image for your contact, the Contacts app enables you to crop the picture.
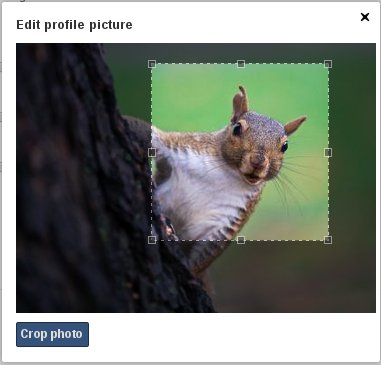
Cropping contact image
To crop the image:
- Move the image crop box to the desired location and resize the box any way you like.
- Click Crop Picture in the crop image dialog box.
The Contacts app crops the image and replaces whatever image was originally used for the contact.
Managing Address Books
Clicking on the settings (gear) button at the bottom of the Apps Information field provides access to the Contact app settings. This field shows all available address books, certain options for each address book, and enables you to create new address books.
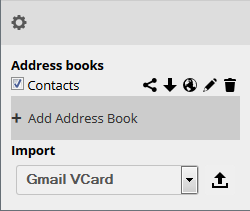
Contacts settings
The Contacts settings enables you to share, export, edit, and delete address books.
Note
Hover your cursor over each icon to see a brief pop-up description.
Adding an Address Book
To add an address book:
- Click the + Add Address Book option in the Contacts settings field.
A field opens requesting you to enter a display name for the new address book.

Adding an address book
- Specify a display name for the address book.
- Click the checkbox icon to create the new address book.
Synchronizing Address Books
One of the most important features in any contact application is the ability to keep it in sync. The ownCloud Contacts app enables you to sync your address books to external devices that use the Android or Apple iOS operating systems.
Synchronizing With Android
To synchronize with an Android device:
- Install CardDAV- Sync free from the Google play store by visiting this link. This app supports auto-configuration.
Note
Following the installing, visit carddavs://example.org/remote.php/carddav/ to auto-configure the app.
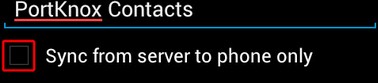
- Enter your login details.
- After the app has checked your login details, select the Sync from server to phone only option.
Synchronizing With Apple iOS
To synchronize with an Apple iOS device:
- Open the settings application.
- Select Mail > Contacts > Calendars.
- Select Add Account.
- Select other as the account type.
- Select Add CardDAV account.
- For server, enter http://example.org/remote.php/carddav/principals/username
- Specify your username and password.
- Select Next.
- If your server does not support SSL, a warning is displayed. Select Continue.
- If the iPhone is unable to verify the account information, perform the following:
- Click OK.
- Select advanced settings.
- Make sure Use SSL is set to “OFF”.
- Change the port to 80.
- Return to “account information” and click Save.
Your contacts appear in the address book of your iPhone.
Special CardDAV URLs
Additionally, the Contacts app is providing an URL for special functions:
Export an address book as a vCard file
Troubleshooting
Are you having problems using the app? Have a look at the Troubleshooting and Troubleshooting Contacts & Calendar guides.